Harvest Temple CM
Written by Lily and Eddy
In-depth guide covering mechanics and strategies.
This is a guide for Harvest Temple CM, check out the builds for Harvest Temple CM here.
This guide is a work in progress. Please check back to see it as it evolves over time.
Overview
Enrage Timer | When the Void AoE reaches the edge of the platform |
|---|---|
Defiance Bars | 2,500 (Purification Orb), 2,000 (Champion Timecaster), 1,500 (Champion Saltspray Dragon), 1,000 (Champion Giant, Champion Obliterator and Champion Goliath), 500 (Elite Warforged and Elite Brandbomber) |
Health Pool | 16,807,500 (each of the Dragonvoid phases - Jormag, Primordus, Kralkatorrik, Mordremoth, Zhaitan, SooWon 1 and SooWon2) |
Useful Things | Movement abilities, Projectile Destruction, |
Strategy
Markers
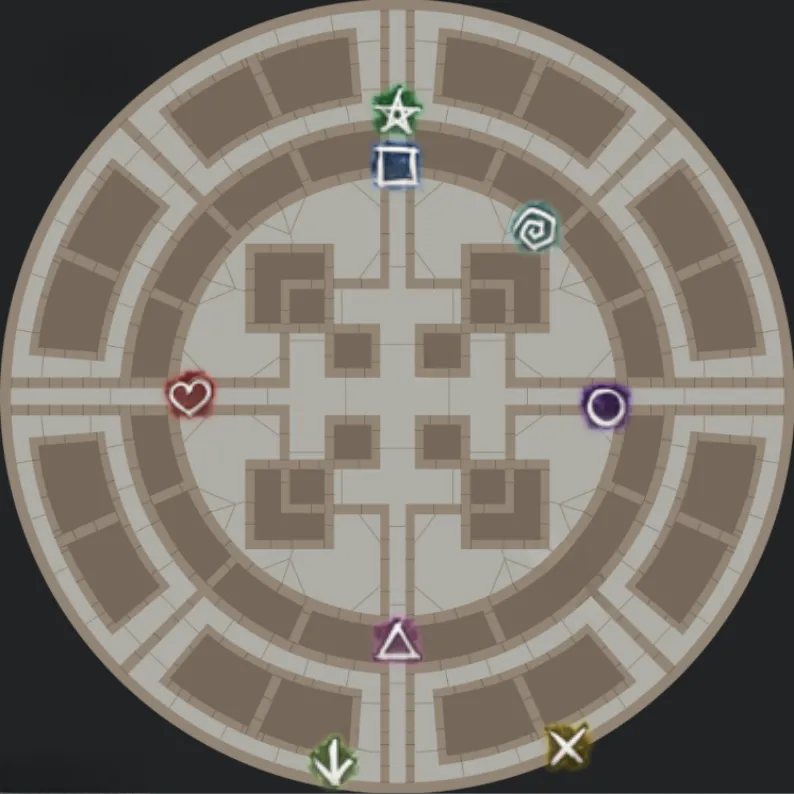
Purification 1
Our goal is to get the Purification Orb through the White circles and then break its Defiance bar. At the start, the Kites and Boondps provide boons to their subgroups, whilst the Portal players place their first portals and blink to the stack for boons.
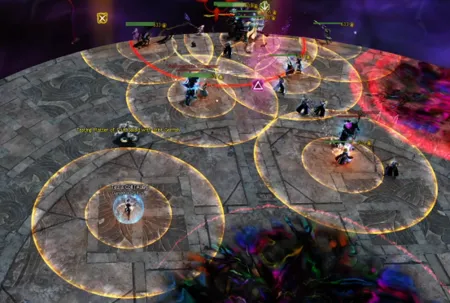
Then the Kites go to push the Orb to the first white circle (where the stack is standing). The Portal players go with them, kill the far crab and then either help push (if low push Kites) or move to kill the North and East crabs. The Portal players should try not to kill the North crab until just after the Purification Orb hits the 2nd white circle. From the 1st White circle, the stack helps to push and from the 2nd White circle, all players should help to keep the Purification Orb on track. Once it hits the 3rd White circle, break the Defiance bar quickly.
Portal 2 then opens their portal to take everyone to the Dragonvoid for the start of Jormag’s phase.
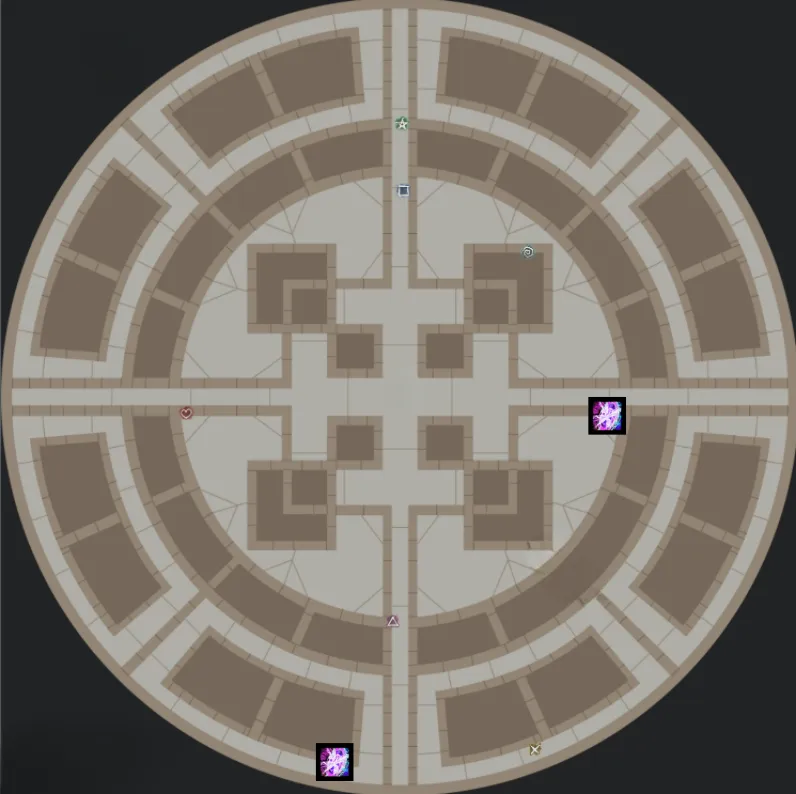
Jormag
Useful:  Resistance
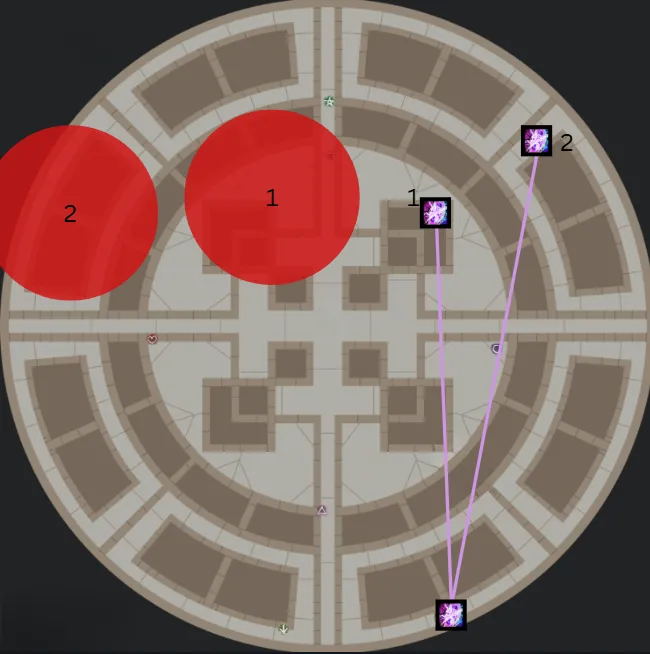
Jormag starts with boons (resolution and protection). The portal players should be ready to strip these as soon as The Dragonvoid is targetable. There will be Reds (which should be baited by the Kites) allocated and then Ice Lasers from the edge to the middle. As these apply Chilled, the Kites should cleanse before moving off stack to place their Reds as in the picture. Whilst the Reds are being placed, there will be 4 lasers circling the centre - these do a lot of damage and  Debilitated so avoid.
Next will be Greens. The close Green is allocated to the Boondps players. The left of the platform as you face the Dragonvoid is allocated to the Portal players (by Circle) and the right of the platform is allocated to the Kites (by Heart).
Portal 1 should open their portal on stack to take themselves and their fellow Portal player to their Green.
During the last couple of seconds of the Green, new boons will appear on the Dragonvoid for the Portal players to remove.
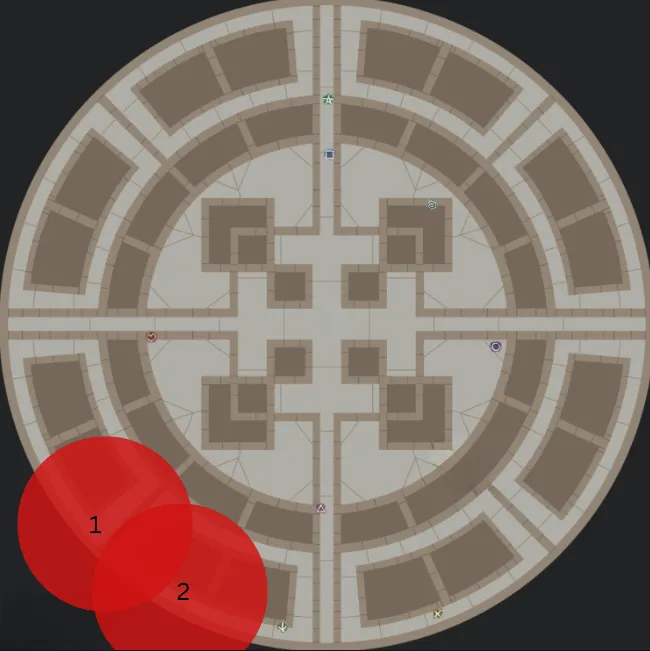
Shortly after this the Spread circles will appear and ice lasers will start coming towards the Dragonvoid from the far side of the platform.
The mechanics then repeat. Portal 2 should place their portal on stack and then blink to their Green and open for the 2nd set of Greens if they need to be completed. Note this requires you to not get hit by too many Chill circles from Stormseers to have Portal off cooldown.
At the end of this phase, the Portal player with  Mass Invisibility will use it as soon as the Jormag-Dragonvoid dies.
Phasing bugs
The safe timings to phase are:
- During Greens
- During Spreads
- In the first half of the Red animation
If you phase at other times, there may be a phasing bug where Jormag continues his animations into Primordus' phase. The most common of these is if you don't wait for the Greens to spawn after Red placements - the Greens will still spawn during the start of Primordus.
Primordus
Whilst in stealth, face the outside of the platform to get the adds to stack nicer as they want to be in front of you. The adds match the movement speed of their target, so  Superspeed and
  Swiftness are very useful, as is making sure to not be
  Chilled. Providing
  Stability to everyone once stacked and starting to attack, and keeping it up until running out, helps prevent issues from the Last Laughs. If you phased before the 2nd greens in Jormag, Portal 2 should place their portal on Cross. If you phased after the 2nd greens appeared, Portal 1 has their portal back for this.
Primordus will start to charge his Bite attack, allocate Spread circles and then allocate Reds. Everyone should run out of the Bite, allowing the Kites to hug the Central AoE to get their Reds. If baited properly, the Portals are in the Bite, the Boondps are out, the Kites are near their Red placement and there is 1 Dps spread that the others can also stand in, allowing plenty of space.
The middle green is the Boondps one, with Portals and Kites doing the greens on the same sides as before. Open the portal on Spiral before getting in the green.
Make sure not to take the  Portal Entre back until at least half a second after the bright red Bite AoE disappears - it lasts for longer than it is there visually and is an instant death mechanic. Once back at the boss, players should ensure not to go too close during the "Boop" mechanic where Primordus slams his chin into the platform, but there is a space you can stand that is in melee range still.
The mechanics then repeat until the end of the phase.
At the end of this phase, the Portal player with Mass Invisibility will use it as soon as the Primordus-Dragonvoid dies.
Phasing bugs
The safe timings to phase are:
- During Greens
- After Greens, before the Spreads
- During Spreads, once the Reds have appeared
Do not phase:
- During the Bite before the Greens have appeared
- During the Spreads before the Reds have appeared
If you do, the next pull will cause an animation bug on the phase, causing Primordus to complete his mechanics faster or without animations. This will reset if you get to the Primordus phase and wipe at a good time.
Video Resources
Mechanics
Purification 1
Orange Circles
Phase(s) | Purification 1 |
|---|---|
Position | Random on the platform |
Mitigation |
|

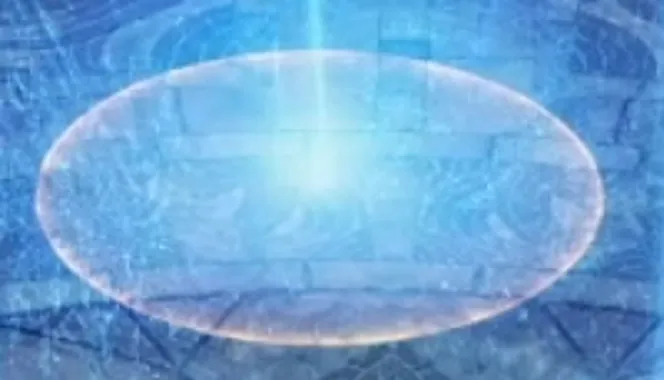
One of the first mechanics you’ll see are these orange circles. These persist throughout the purification 1 phase, but change as the Orb hits the white circles. They start as Ice Lightning for Jormag, then Fire for Primordus once we hit the first white circle. Do be careful as these can down you with one hit. You can dodge, aegis or block them. But best to just sidestep...
Cracks
Phase(s) | Purification 1 |
|---|---|
Position | Random on the platform |
Mitigation |
|
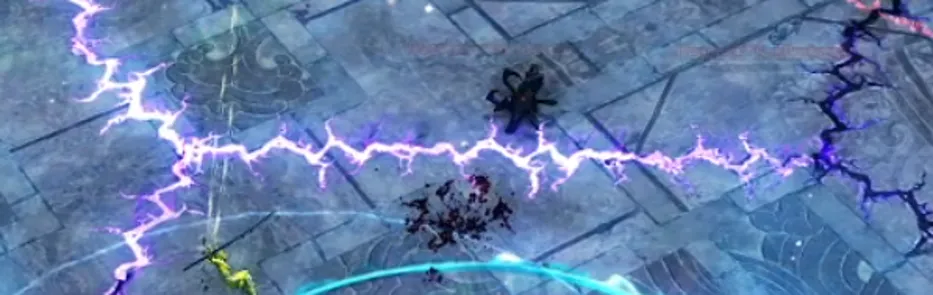
After the 2nd white circle, we're in Kralkatorrik's influence so get purple cracks on the floor. These do quite a lot of damage and also apply Debilitated, which will persist into the next phase. It’s best to not stand on them. You can cross them before they light up and explode without being hit.
White Circles
Phase(s) | Purifications 1, 2 and 3 |
|---|---|
Position | Set positions on the platform |
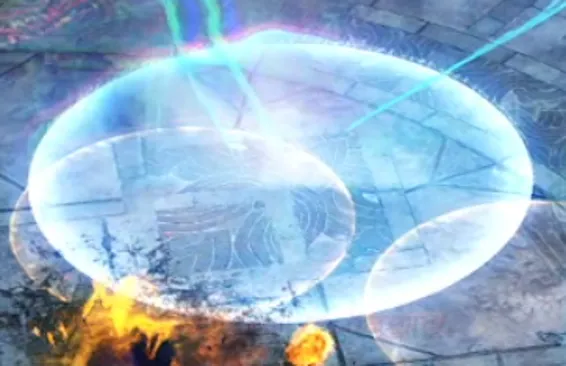
The white circles are where we're aiming the orb. You need to hit the Orb into each white circle in the Purification phases to change its influence between the dragons and eventually get the CC bar. The Orb will gain the Defiance bar from the last white circle in a phase. For Purification 1, this is circle 3. For Purification 2 and Purification 3, this is the 2nd white circle. In a change to NM, the orb does not stop when it hits the white circles.
Void Melters (Crabs)
Phase(s) | Purifications 1, 2 and 3 |
|---|---|
Target | Purification Orb |
Mitigation | Kill the crabs |
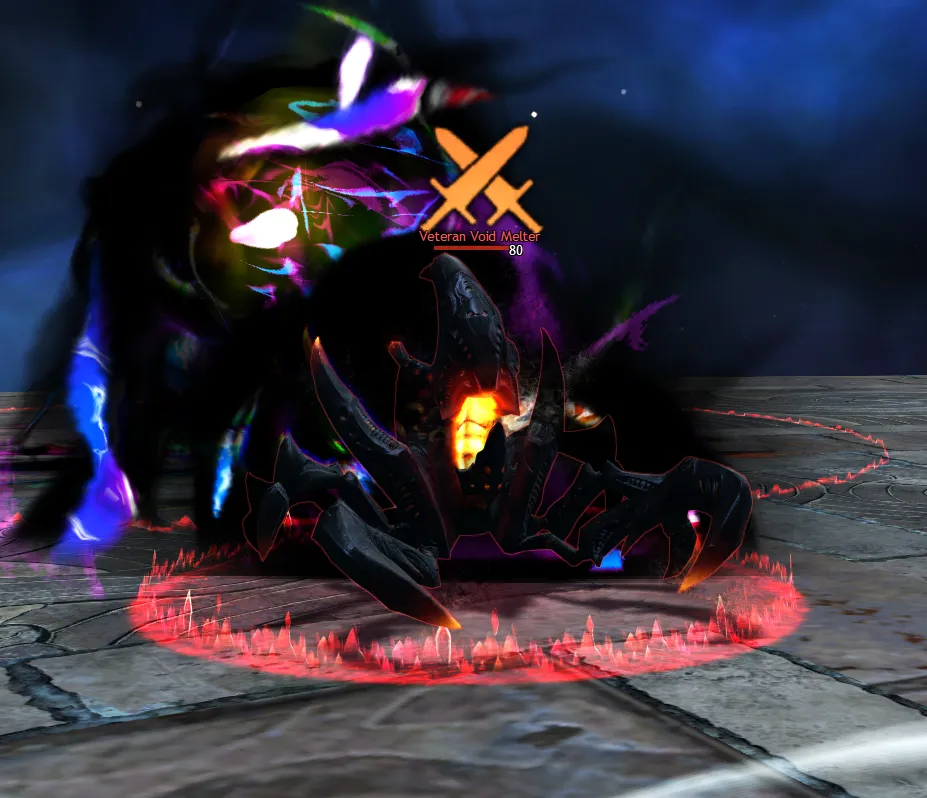
The crabs are spawned from certain parts of the platform in the first 3 Purification phases. Most of them will come from the 4 Void AoEs. The little crabs are trying to get to the Orb. If they hit it, they cause a massive shockwave without a counter that wipes us. Each crab that you tag will give stacks if it dies whilst you're on your stacking weaponset. Tagging can include damage or giving boons. Each time the Purification Orb hits a white circle, the Void AoEs spawn a new set of crabs. You can use this to your advantage by not killing certain crabs before a new white circle is hit as there can only be one crab alive from each Void AoE at any given time.
Heart of x (Purification Orb)
Phase(s) | Purifications 1, 2 and 3 |
|---|---|
Defiance bar | 2,500 |
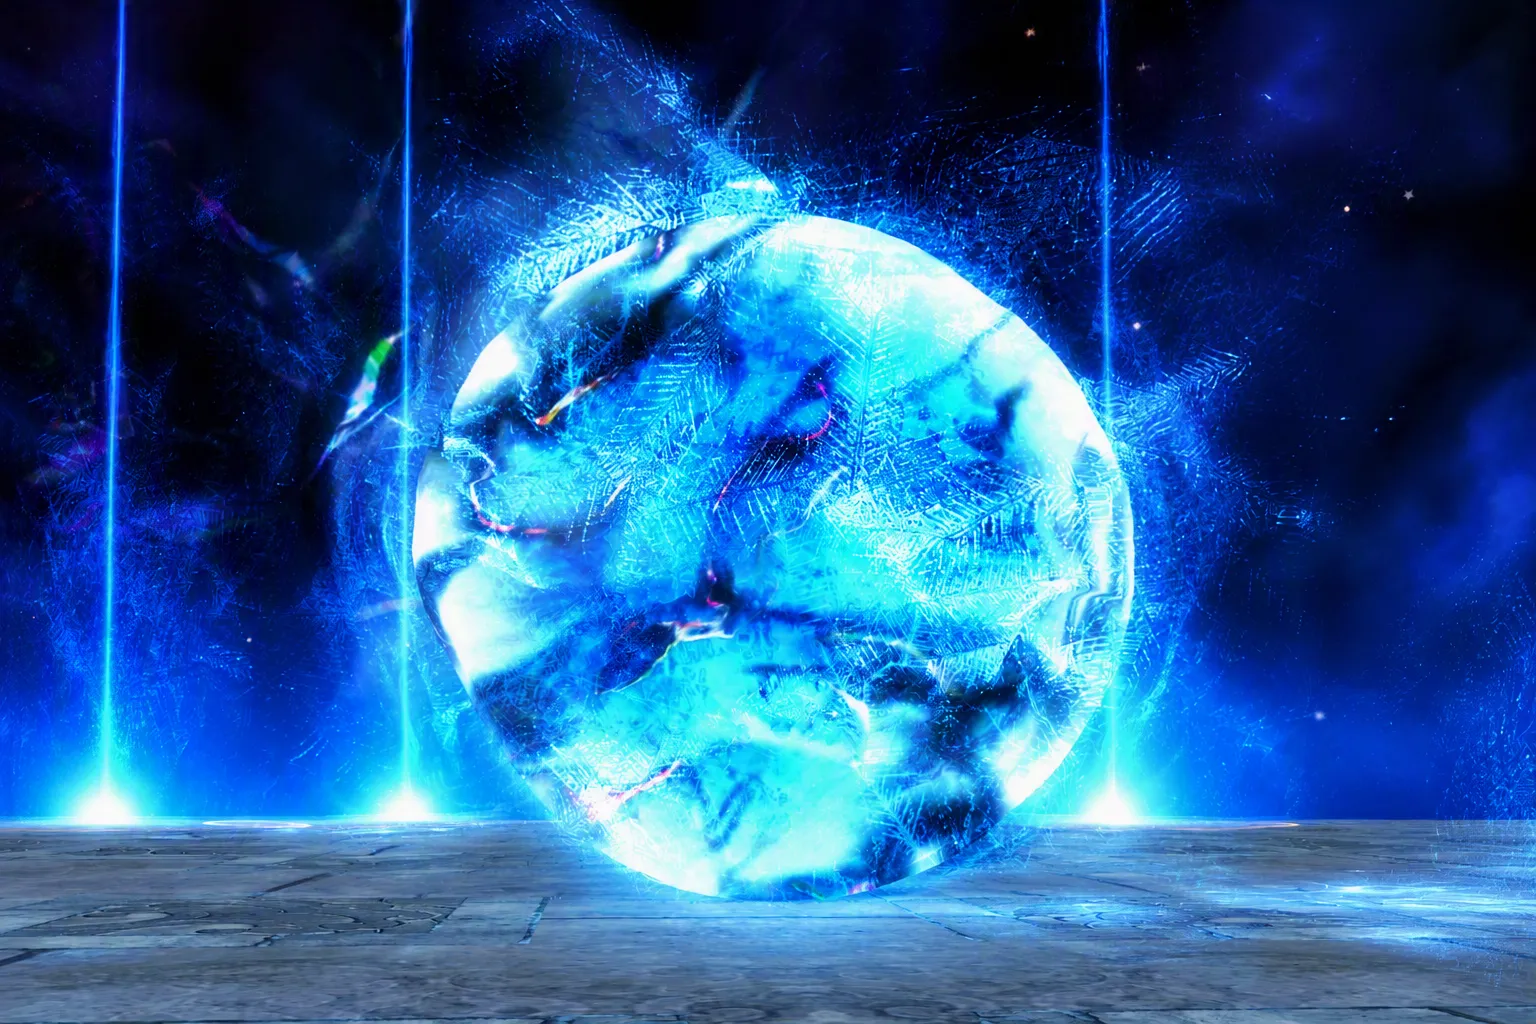
The orbs are the point of the Purification phases. This version shows up in the first 3 Purification phases; for the Orb in Purification 4, see the Purification 4 section. We're trying to purify the orb by pushing it through the white circles and then breaking its Defiance bar. Any hit will push it in the direction away from you and will make the orb go faster. If it hits the edge or crabs, a large shockwave is produced, which wipes the squad. Due to dangers around, it is best to break the Defiance bar as soon as possible when it appears at the last white circle in the phase.
Void AoEs
Phase(s) | All phases |
|---|---|
Mitigation | Avoid |
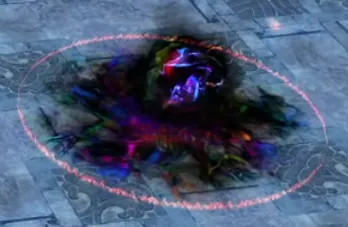
One version of the Void AoEs are the circles in the cardinal directions of the platforms in Purifications 1, 2 and 3. The other version is the AoE in the centre of the platform in each Dragonvoid phase. Both versions expand over time. You should aim to avoid standing in them. Void AoEs corrupt boons that you have on you, which can be very dangerous if it is large and you have Stability. They also give stacks over time, which will eventually turn you to the Dragonvoid’s side (an enemy to your squad).
Jormag
Boons
Phase(s) | Jormag, Primordus, Kralkatorrik, Mordremoth, Zhaitan, Soo-Won 1, Soo-Won 2. |
|---|---|
Target | Dragonvoid |
Mitigation | Boonstrip |
Each of the Dragonvoid phases gain 3 boons every 20s. These are  Protection,
  Resolution and
  Regeneration. The standard strategy is for the power mesmers used as Portal players to strip these using either their
  Crowd control or the boonstrips in their rotations (
 Phantasmal Defender or
  Phantasmal Lancer or
  Phantasmal Berserker).
Reds
Phase(s) | Jormag, Primordus, Kralkatorrik, Mordremoth, Zhaitan, Soo-Won 1, Soo-Won 2. |
|---|---|
Target | 2 people closest to the centre of the platform |
Mitigation | Take away and walk + dodge out. |
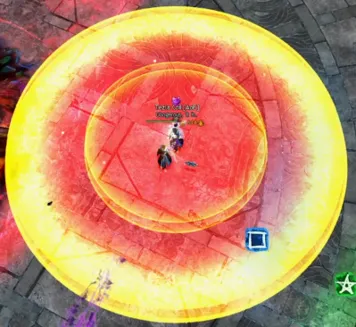
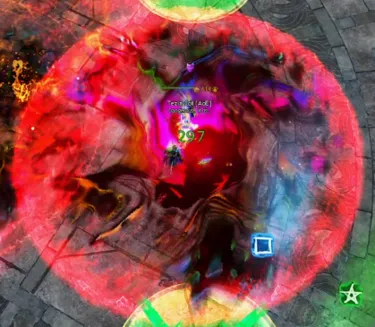
These bright red circles do a lot of damage in pulses, which cannot be mitigated with aegis, distortion or invulnerability. If you are caught in them, you will die very quickly. Kites can often take 2 hits before death, but less tanky individuals will down from 1 hit. Usually baited by the Kites, they are taken away from the stack and stacked for maximum space saving. Once placed, walk 1-2 steps towards the edge and then dodge to get out of them.
Greens
Phase(s) | Jormag, Primordus, Zhaitan, Soo-Won 1, Soo-Won 2. |
|---|---|
Position | Set places on the platform in each phase |
Mitigation | 2+ people in each green |
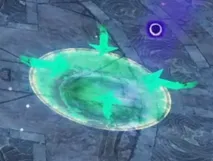
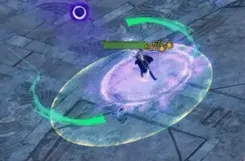
Throughout most of the Dragon phases, 3 Green circles will appear at set positions on the platform. Each Green requires at least 2 people to be stood in it when they go off to prevent raid wide damage that will usually down everyone, and also applies Debilitated to everyone. The raid wide damage can be mitigated with  Distortion and
  Invulnerability skills as well as the
  Infuse Light skill. These will not stop the Debilitated from being applied.
Spreads
Phase(s) | Jormag, Primordus, Mordremoth, Zhaitan, Soo-Won 1, Soo-Won 2. |
|---|---|
Target | 7 people closest to the centre of the platform. |
Mitigation | Spread |
These spread circles appear on the 7 closest people to the centre of the platform.
They explode and will down anyone caught in an overlap. Distortion, Invulnerability and skills that heal on deadly damage can be used to avoid this.
Usually allocated to the 2 Kites, 2 Portals, 2 Boondps and then the last one is taken by a random Dps player.